I love searching the net for fun DIY jewelry projects, it is a wonderful procrastination pastime when I have a billion other things that are silently calling to me...dishes, laundry, kids...the list goes on...and on. Recently I have seen a number of these adorable wire wrapped birds nest necklaces and fell in crafty love! They looked easy enough ... and totally wearable too! Here are a few that caught my eye...
So I decided to give it a go! (I also had in the back of my mind that this would be a perfect addition to my little line of Etsy Kraft Kits) I picked up the wire and the beads at the dollar store, the jump ring I had on hand but originally purchased from Michaels, and the necklace was already mine as well (sourced from Etsy). Here goes...
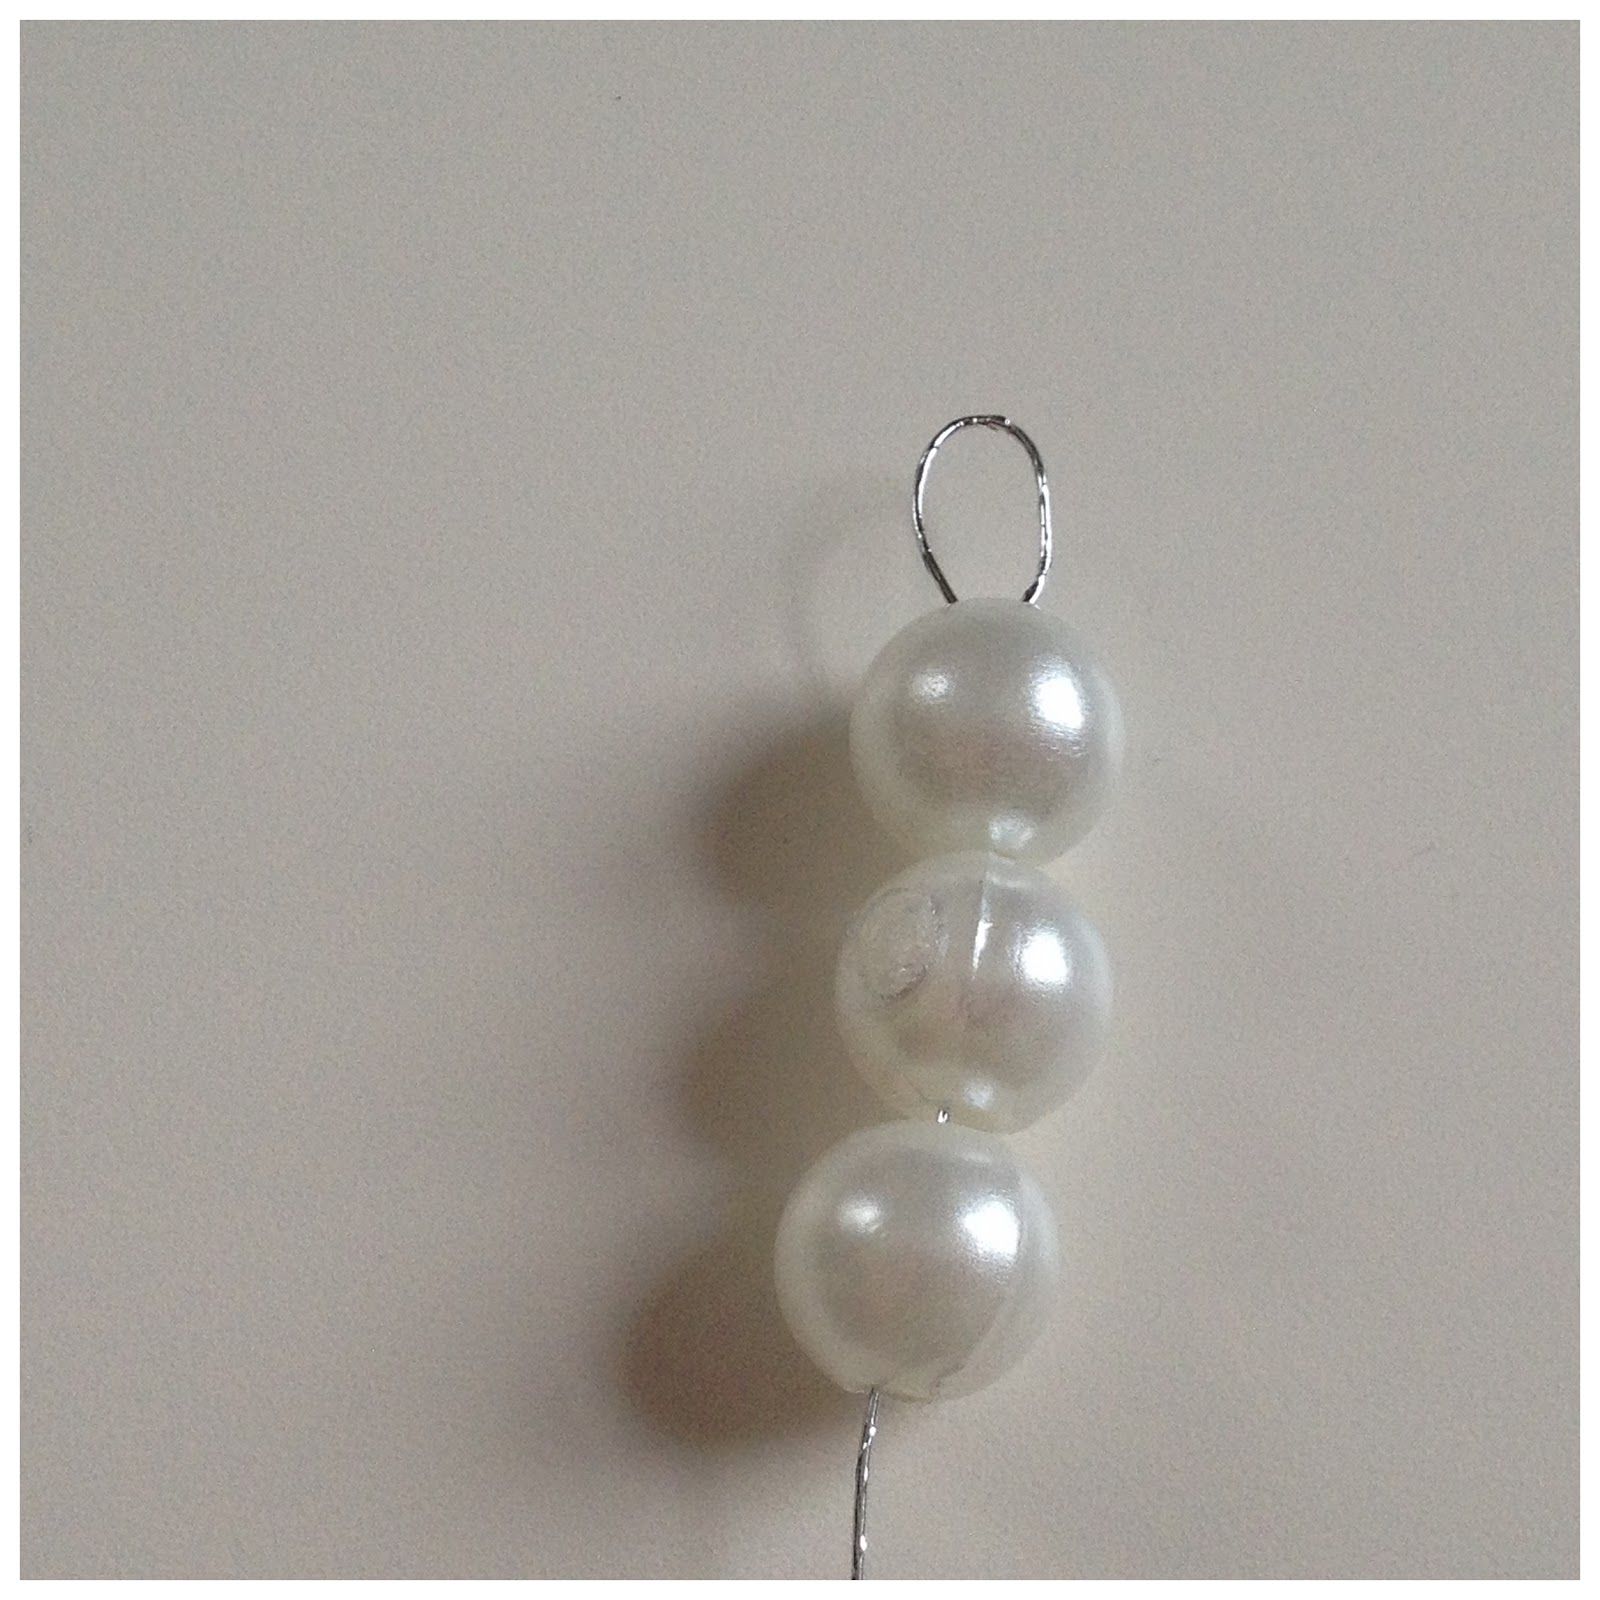
1. First I took about a metre (give or take) of thin silver metallic wire and twisted a loop into one end. I also set aside the 3 faux pearl beads that I was going to use.
2. Next, I threaded the 3 beads onto my wire.
3. I bent my wire so that my beads were sitting in a triangular shape.
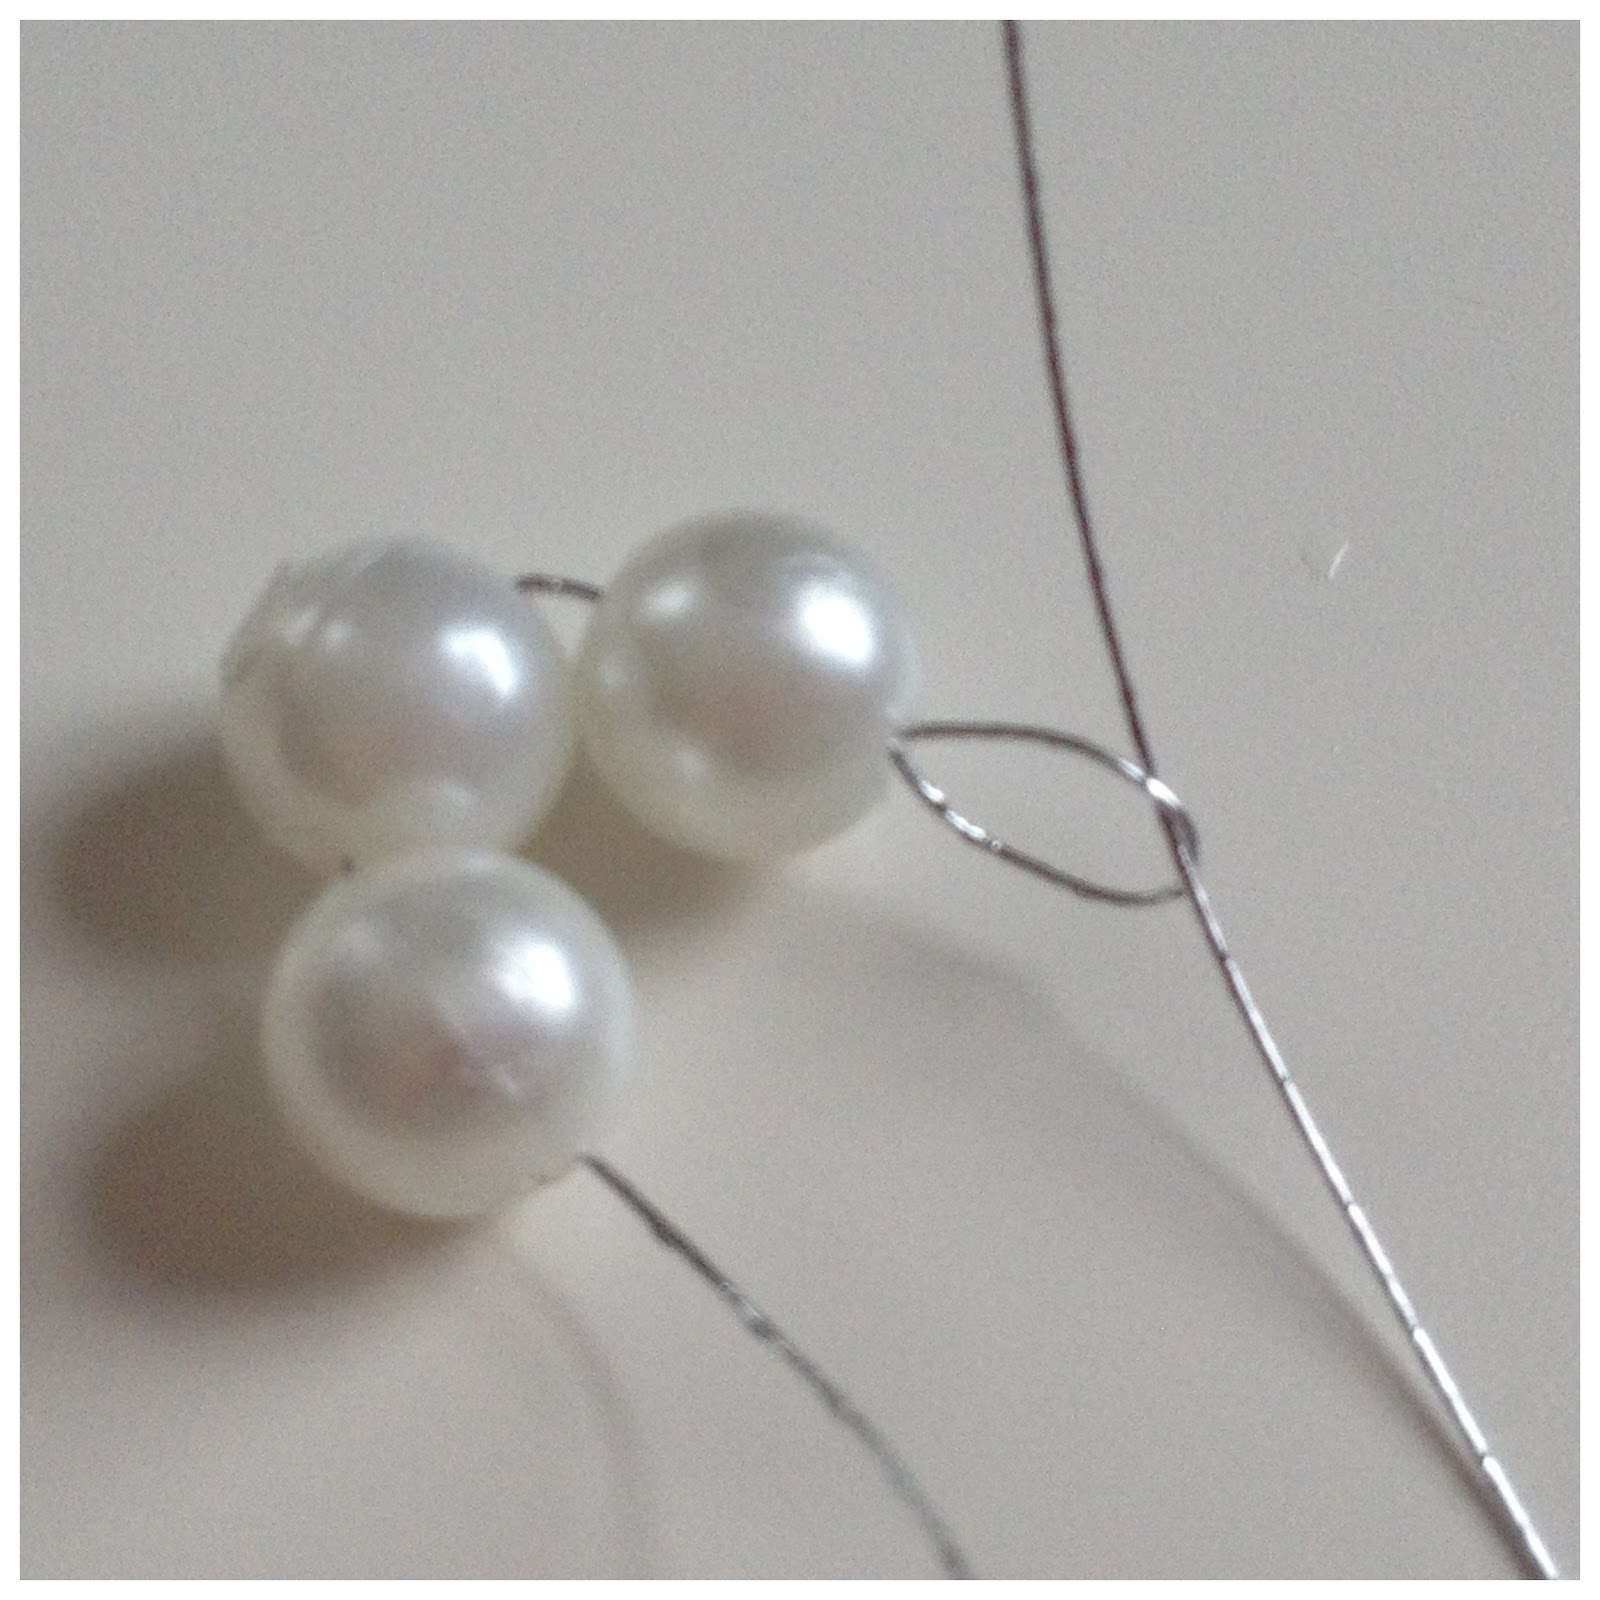
4. I then threaded the wire through the loop that I had originally created.
5. I pulled it through nice and tight.
6. And I started wrapping, keeping the wire fairly close to the perimeter of the beads.
7. I kept on wrapping until I had about 10 cm remaining in my wire (remember the wire wrapping does not need to look perfect, in fact, imperfections will give your birds nest a more realistic and charming look).
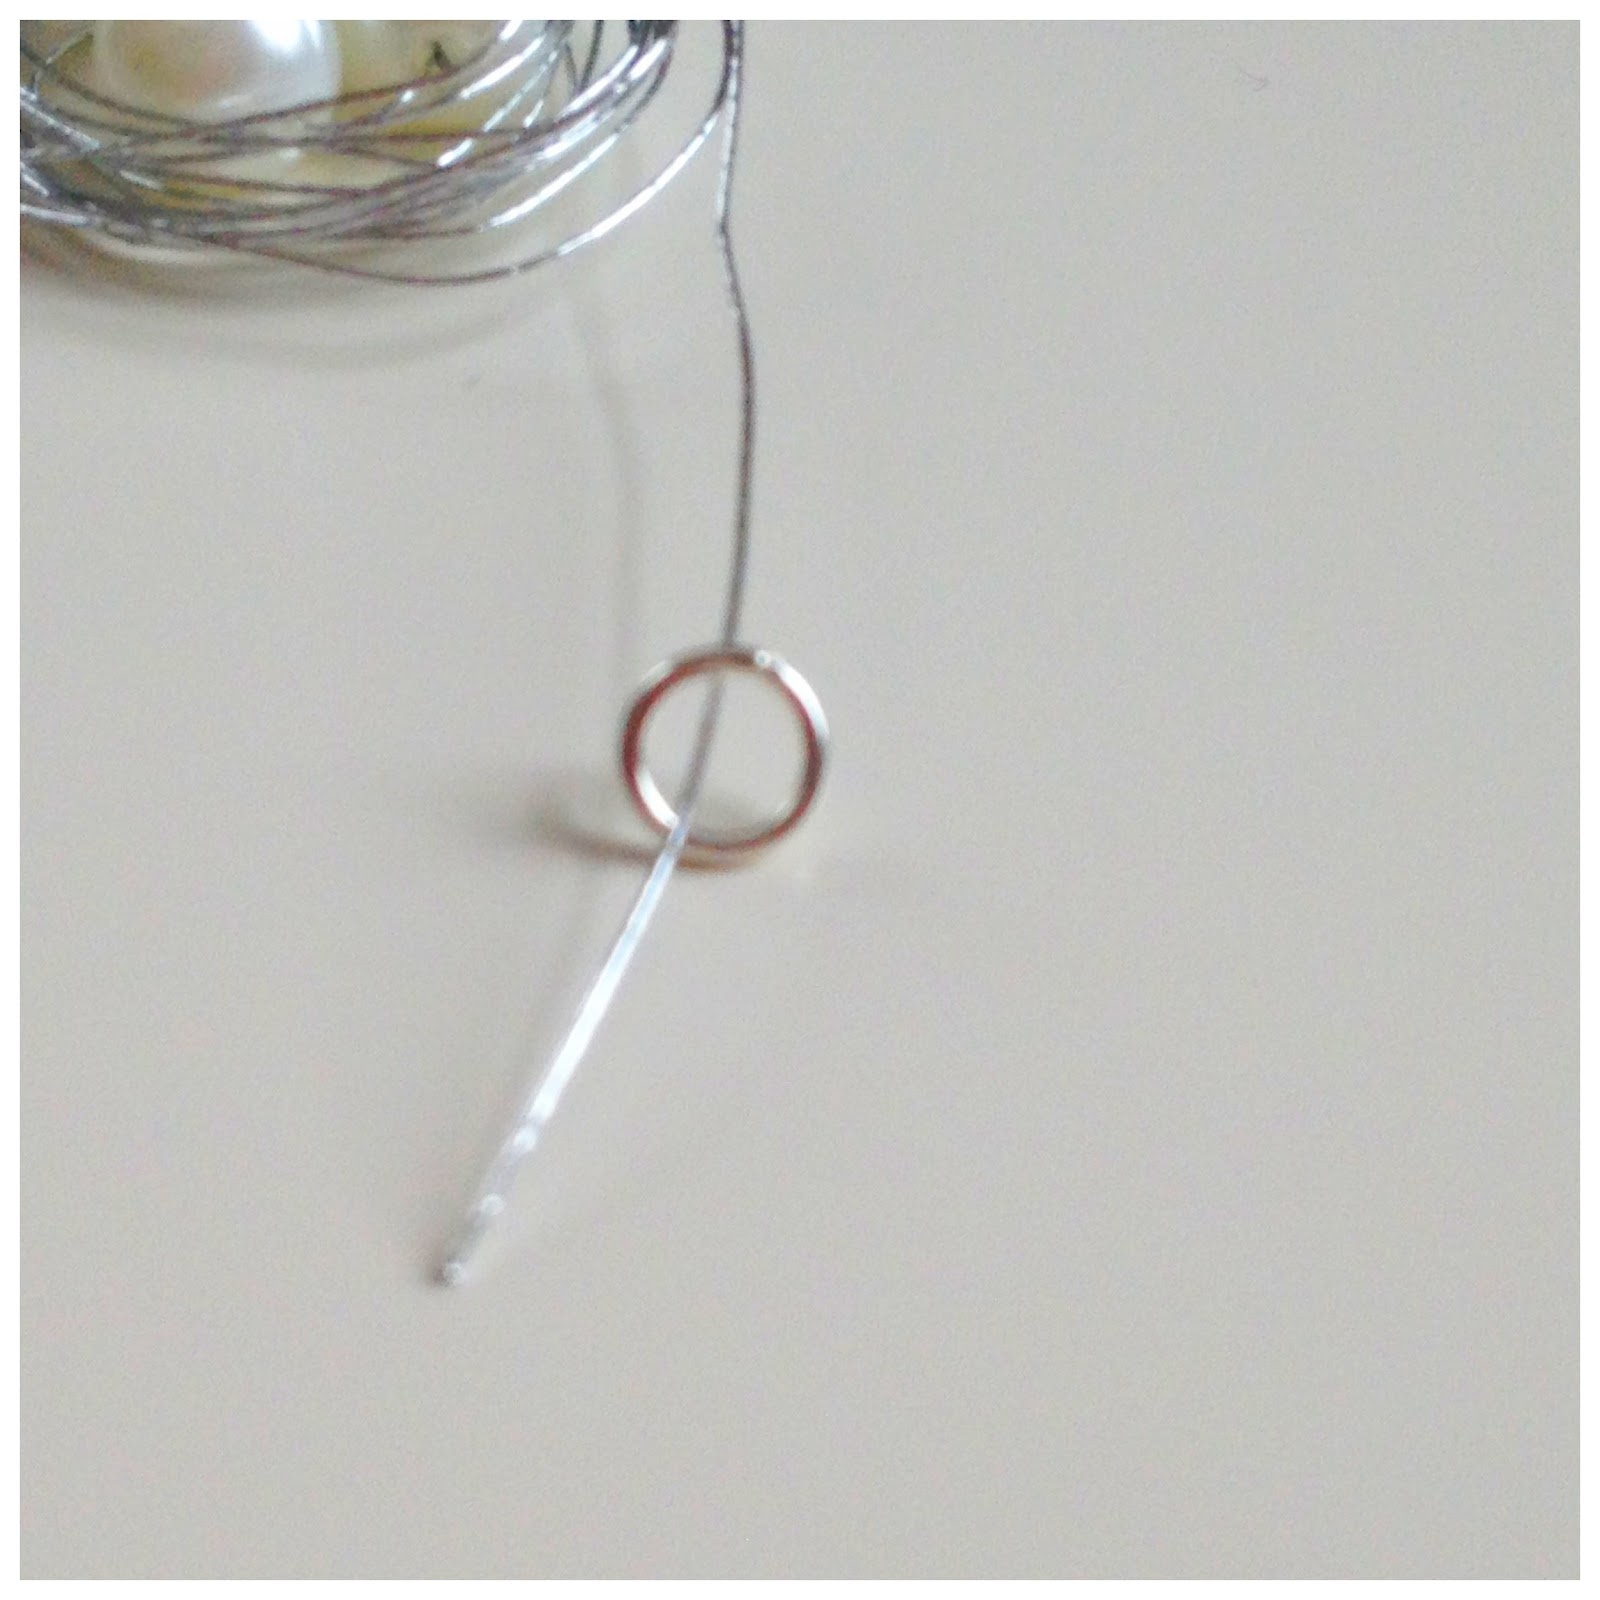
8
. Next I threaded my jump ring through the remaining length of wire.
9. Then I found a space in between 2 beads and started to loop my remaining wire around the wire wrappings, securing it in this one spot. When you feel that it is nice and secure, cut off any additional wire if necessary and/or tuck in the edge of the wire.
10. Here you can see one of my three knots completed.
11. I prepared 2 smaller (10 cm each) lengths of wire in advance which I now got ready to use to create my final 2 knots in between the other 2 beads.
12. Here I go with the next one...
13. I like to knot it through itself at the end, so I know it won't go anywhere!
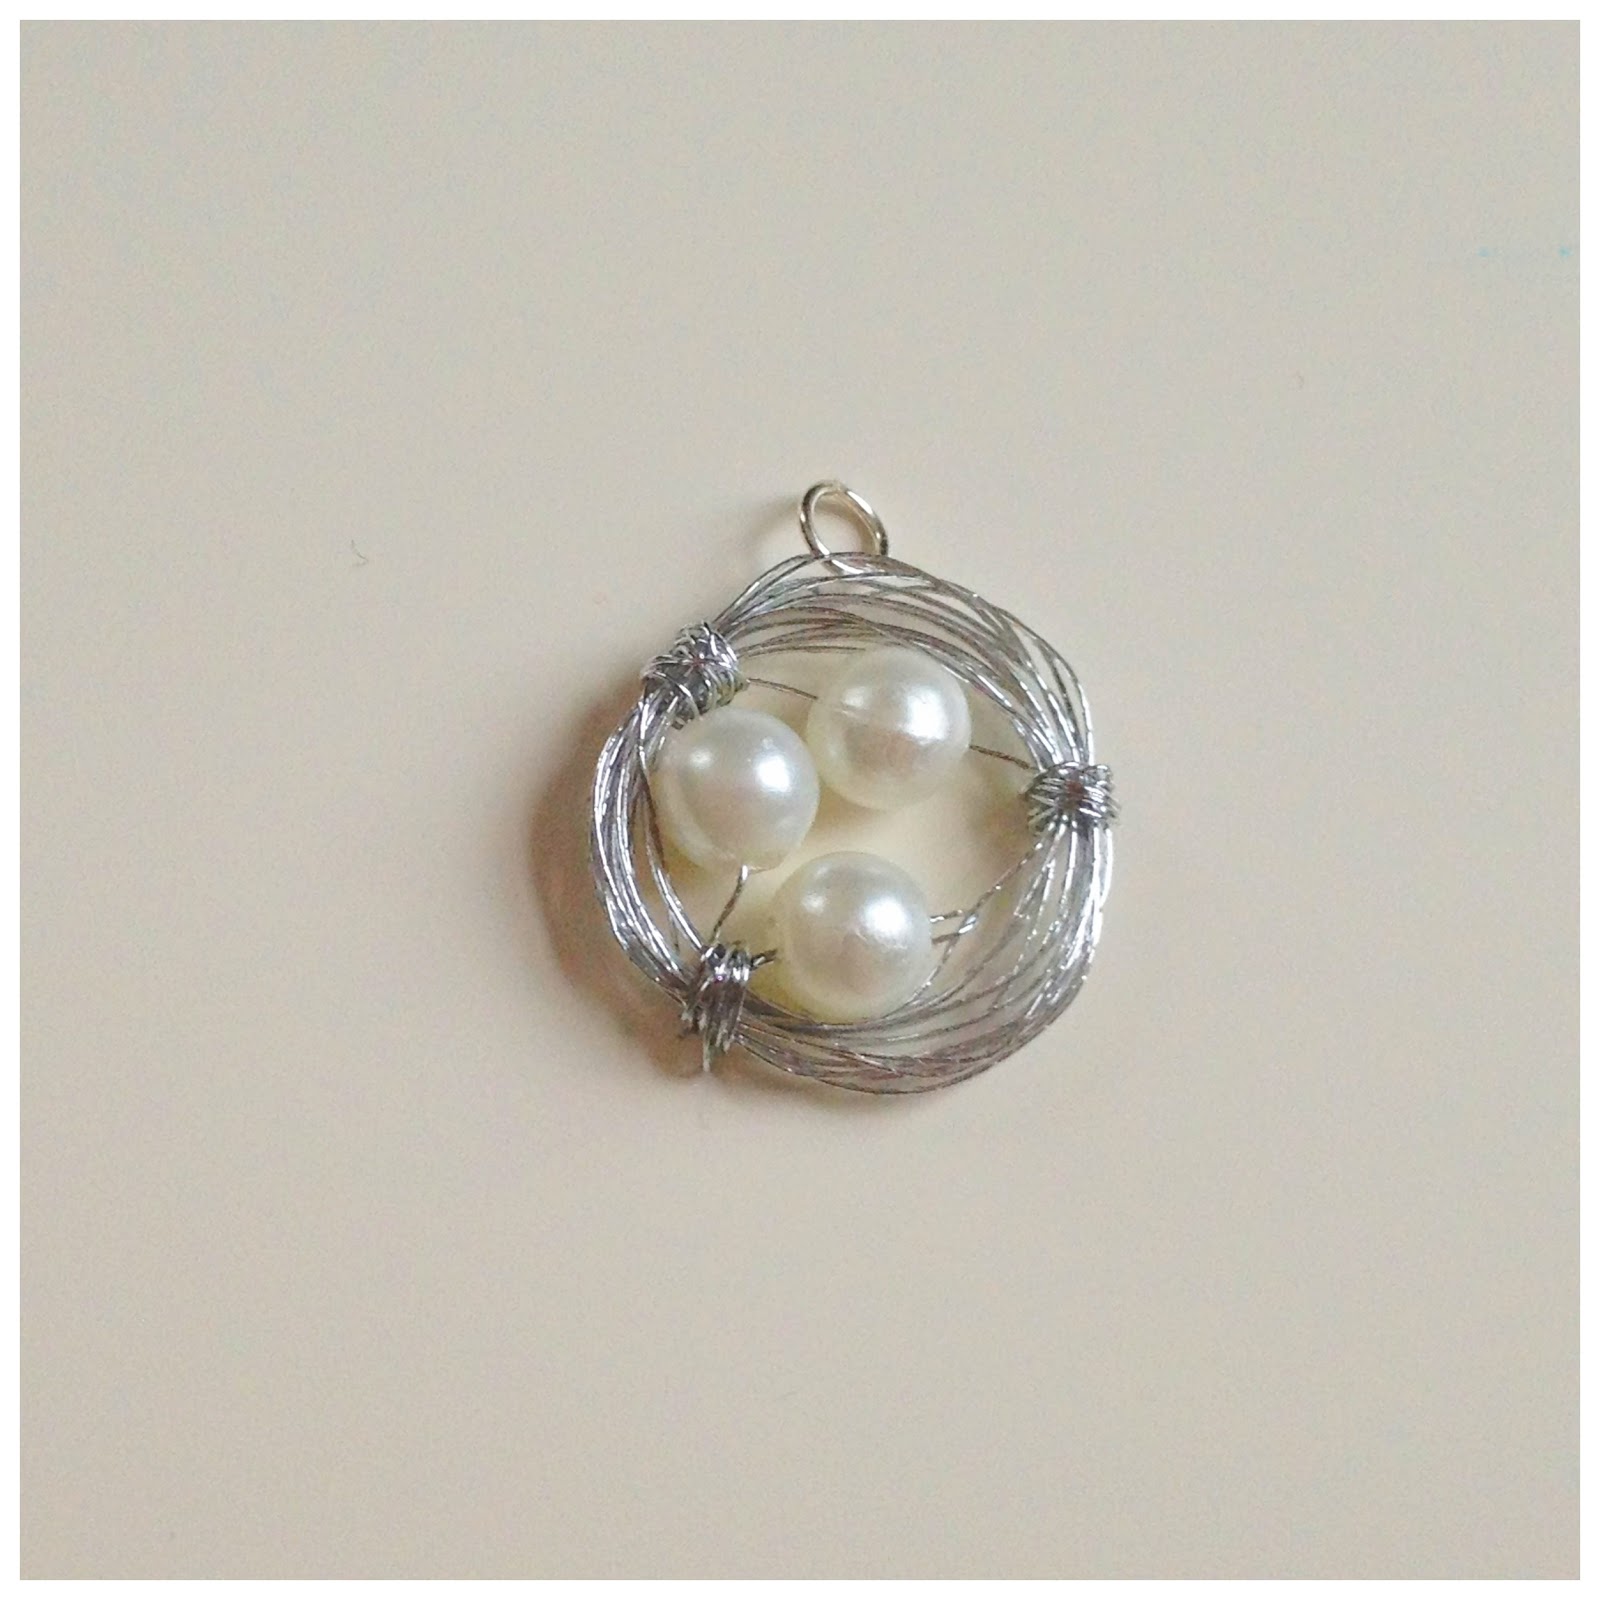
14. (Drum roll please.....) Tada - So cute!!
15. A little re-arranging of the beads to center them and here is my necklace threaded through my silver chain.
Hopefully this will inspire a little DIY project for you! Why not give this one a try! Fun, and best of all EASY!!!
Email me at ThePrettyPaperFactory@gmail.com for more information.


I think these necklaces are adorable. I'm going to make them with my grandaughter. She can give them to her sister and mom for Christmas.
ReplyDeleteThank you! Very detailed tutorial.
ReplyDeleteThank you for the great explanation! I am making them for a fundraising craft sale.
ReplyDeleteGreat instructions. thank you
ReplyDelete